Related: AirPods are perfect for listening to music, making phone calls handsfree (when you don’t want to touch your phone), and hearing notifications. The thing is, those notifications can be a tad annoying as well, especially when you’re working out, sitting through a meeting or trying to relax. The good news? Disabling those AirPod notifications is easy. Here’s a step-by-step guide on how to complete the process.
Why You May Want to Disable ‘AirPod Notifications’
Before we jump into the steps, let’s talk about why you might want to switch notifications on your AirPods. Although this feature is useful, having notifications read can be annoying or undesirable at times — such as:
- Arriving for high-stakes meetings and speeches
- Listening to music or podcasts to unwind.
- Notifications break your center or workout routine.
If any of these resonate with you it’s time for you to take charge and disable those distractions.
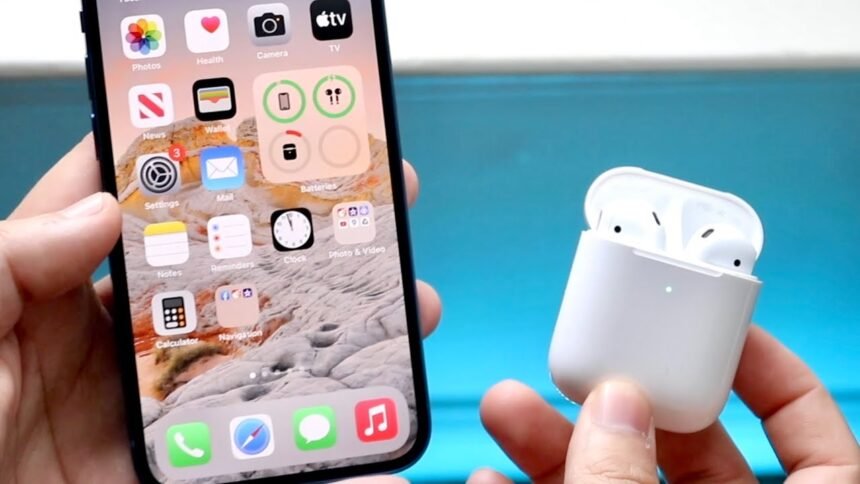
Step 1: Launch Settings on your iPhone
For this, first pick up your iPhone — the AirPods settings are controlling it. Open the Settings app. Here is where you can adjust all the features of your phone along with different settings for your device.
Step2: click on Notification settings
Open the Settings app and scroll down to Notifications. Tap on it. This section manages how all notifications work on your device, including ones that get through to your AirPods.
Step 3: Turn off announce notifications
When you are in the Notifications menu, there will be a setting there called Announce Notifications. With this feature, your AirPods will read notifications to you.
Step 4 — Disable Announce Notifications
Tap Announce Notifications, and a toggle will appear at the top of the screen. If the toggle is green, the feature is turned on. Just tap the switch to turn it off, it’ll turn grey. This disables reading out notifications with your AirPods.
Step 5: (Optional) Change Notifications on a Per-App Basis
If you do decide to turn all notifications off, you can also pick and choose the apps that call out notifications. Below that toggle are the list of apps that use this feature. Here’s how to customize:
- Scroll through the app list.
- Tap on the app that you want to manage.
- Turn off Announce Notifications for the app.
For instance, you may want to keep alerts active for messaging apps like WhatsApp or iMessage but deactivate notifications from games, or shopping apps.
Step 6: Test the Changes
Now that you have implemented these changes, test to see if the notifications have ceased. If you own AirPods, pair them with your iPhone and wear them like normal. No more pings — if that’s true, congrats on finally turning them off!
How to Re-enable Notifications
And if later you change your mind and wish to get notifications again, you can do so, by following those steps:
- Settings > Notifications > Announce Notifications
- Toggle the feature back on.
You can also re-enable notifications for individual apps by flipping back their individual toggles.
Troubleshooting Common Issues
If you’ve run through all the steps but are still hearing notifications, here’s a quick list of tips for troubleshooting:
Step 1: Ensure Your AirPods Are Compatible This works with AirPods Pro, AirPods (second generation and later) and some Beats headphones.
Restart Your iPhone: Make sure iPhone updated. Older versions do not support all features.
Re-pair your AirPods : Disconnecting and then reconnecting can sometimes resolve bugs. Open Settings > Bluetooth, and disconnect from your AirPods. Then pair them again.
Restart Your iPhone: A quick restart will fix many tech glitches.
Conclusion
It is such a simple, tiny and easy thing to turn off AirPod notifications, but once you do, you’re going to come away with a way better listening experience. And if you’re trying to limit distractions, or if you need a break before bringing yourself into a group, these steps will help you to do so. From there, you can manage notifications on a per-app level, so you only see the information you care most about.
Finally, you can now play your music, podcast or calls without any undesirable interruptions. And if one day you want those alerts back, you know just how to turn them back on. Happy listening
ReadMore: Best Black Friday Office Chair Deals — Stay Comfortable and Save